Documenting Harlow’s first year: Project 365
Like any new mom, I am in awe each and every day watching this beautiful little girl grow and change. It’s so exciting to see her learning new things, responding to us with smiles, and becoming more aware of the world around her.
Since her birthday, I have decided to document her first year with Project 365 – using one photo a day to show daily life with our new addition to the family. At first, I thought it would be really hard to remember to take a photo each day, but it’s actually much harder to choose just ONE photo to represent the day.
I want to share with you some photos from her album, some finished pages thus far, and some information on my process. I hope this inspires you to start documenting something in your life or to continue with your own form of memory keeping.
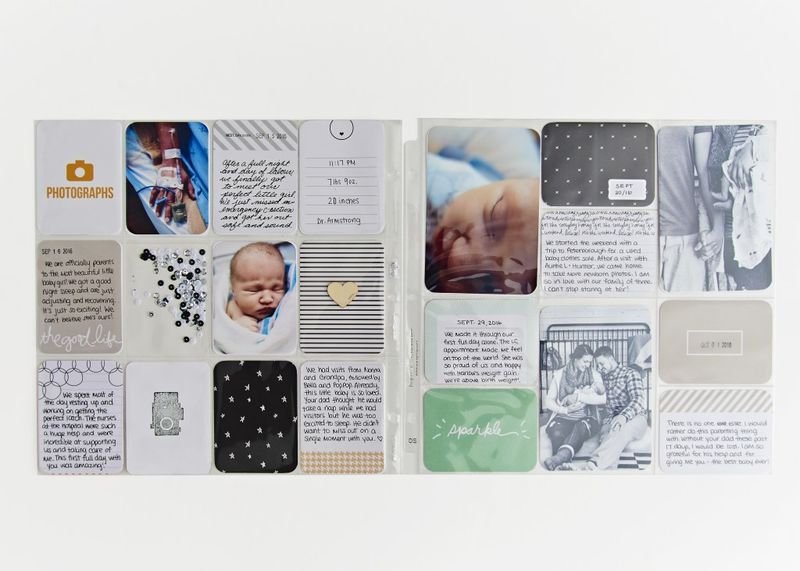
THE TITLE PAGE


Our colours for Harlow’s nursery are black, white and mustard, so I decided to stick with this colour scheme for all my Harlow-related scrapbooks. I wanted to have some personalized cards for her title page, so I created some of my own with her name and birthday. (All the black and white cards in the title page were custom made and the mustard ones are from the Project Life Midnight Edition.)
THE PROCESS
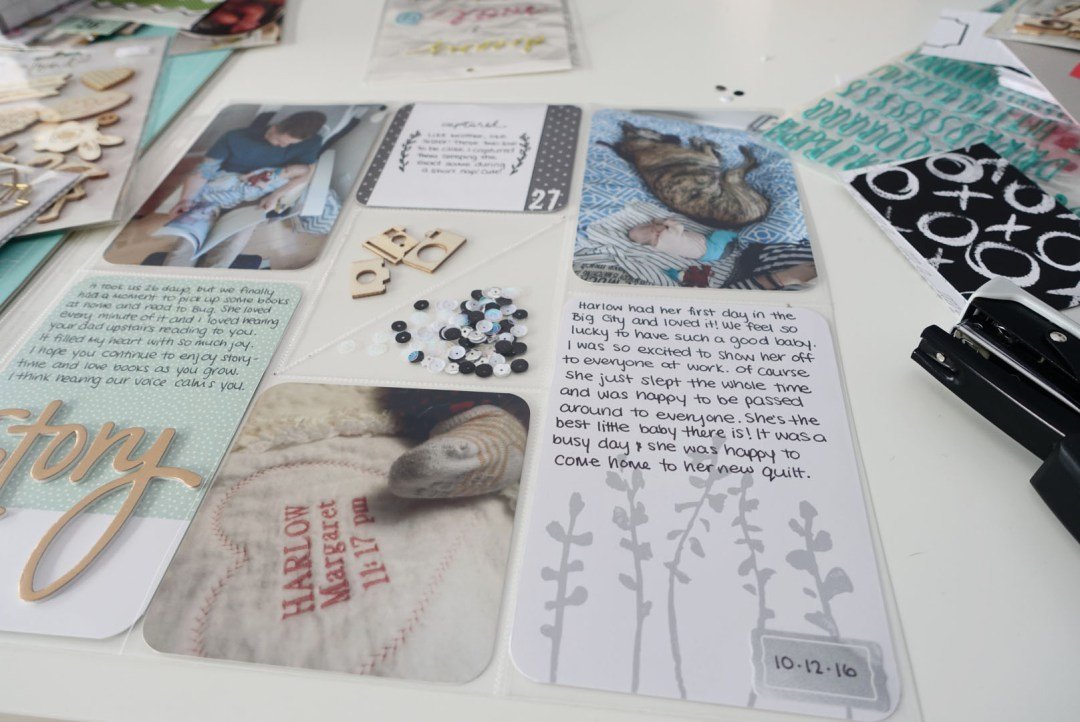
Since so much changes every day and the moments fly by, I am finding myself altering my typical process for baby scrapbooking. Traditionally, weeks will pass before I organize and add all my photos, stick in embellishment cards and then go back and batch journal from memory. For this book, I have reversed the process to lead with the journaling, followed by the photos and embellishments to finish off a page.
I changed things up for this book partly because I know there is so much I want to remember and partly because I want this book to be more in-the-moment than my previous ones have been. I want to capture all the little details of each day as they happen.
So here is a general idea of my new process for Harlow’s Project 365 book:
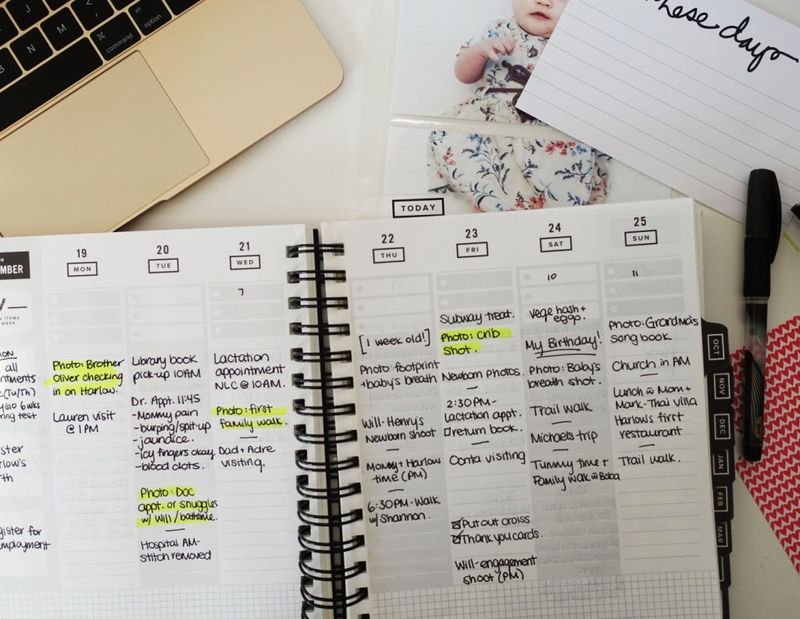
Choose a photo from the day and track it in my Get To Work Book, along with any notes from the day or things I want to remember.
Grab a journaling card and fill it out in the moment – this can be a bullet list of events from the day, things I want to remember about the phase she’s going through, or a little note for her to read when she’s older.
Upload the photo to my Dropbox folder and rename it as the day number (i.e. Day001). Once uploaded, I highlight the note in my book to confirm it’s in the folder.
Print out the photo and slide it into the slot.

See how relaxing Project Life Scrapbooking can be?
Easy peasey! And just like that you have a daily-updated album!
I have to admit that the first couple weeks were just me writing down notes in my agenda instead of on the journaling cards, as I was still figuring out layout and process, but once I caught up, it became a daily routine. Now, I find myself batch printing instead of batch journaling, which allows me to play catch-up at the end of the week without losing out on the daily memory-keeping.

For those Project-Lifers out there, what does your process look like? Have you changed it up based on the type of album? Is it different for daily documenting than it is for weekly or monthly pages? Let me know in the comments below!
If you’re interested in learning more about Project Life or starting your own album, you might be interested in these other posts: What the heck is Project Life scrapbooking? AND 3 Tips for starting a Project Life scrapbook.